No Thoughts, Just Socks: free cuff-down sock pattern with a heel flap and simple cable
Free beginner-friendly sock knitting pattern for cuff-down socks with a heel flap and a simple mirrored cabled.
Click here to save this pattern on Ravelry.
Sometimes I want to knit socks that are mostly plain, but with the tiniest bit of interest. That was what I wanted to do when I decided to knit socks for my partner's birthday out of some lightly variegated yarn I had purchased with him in mind.
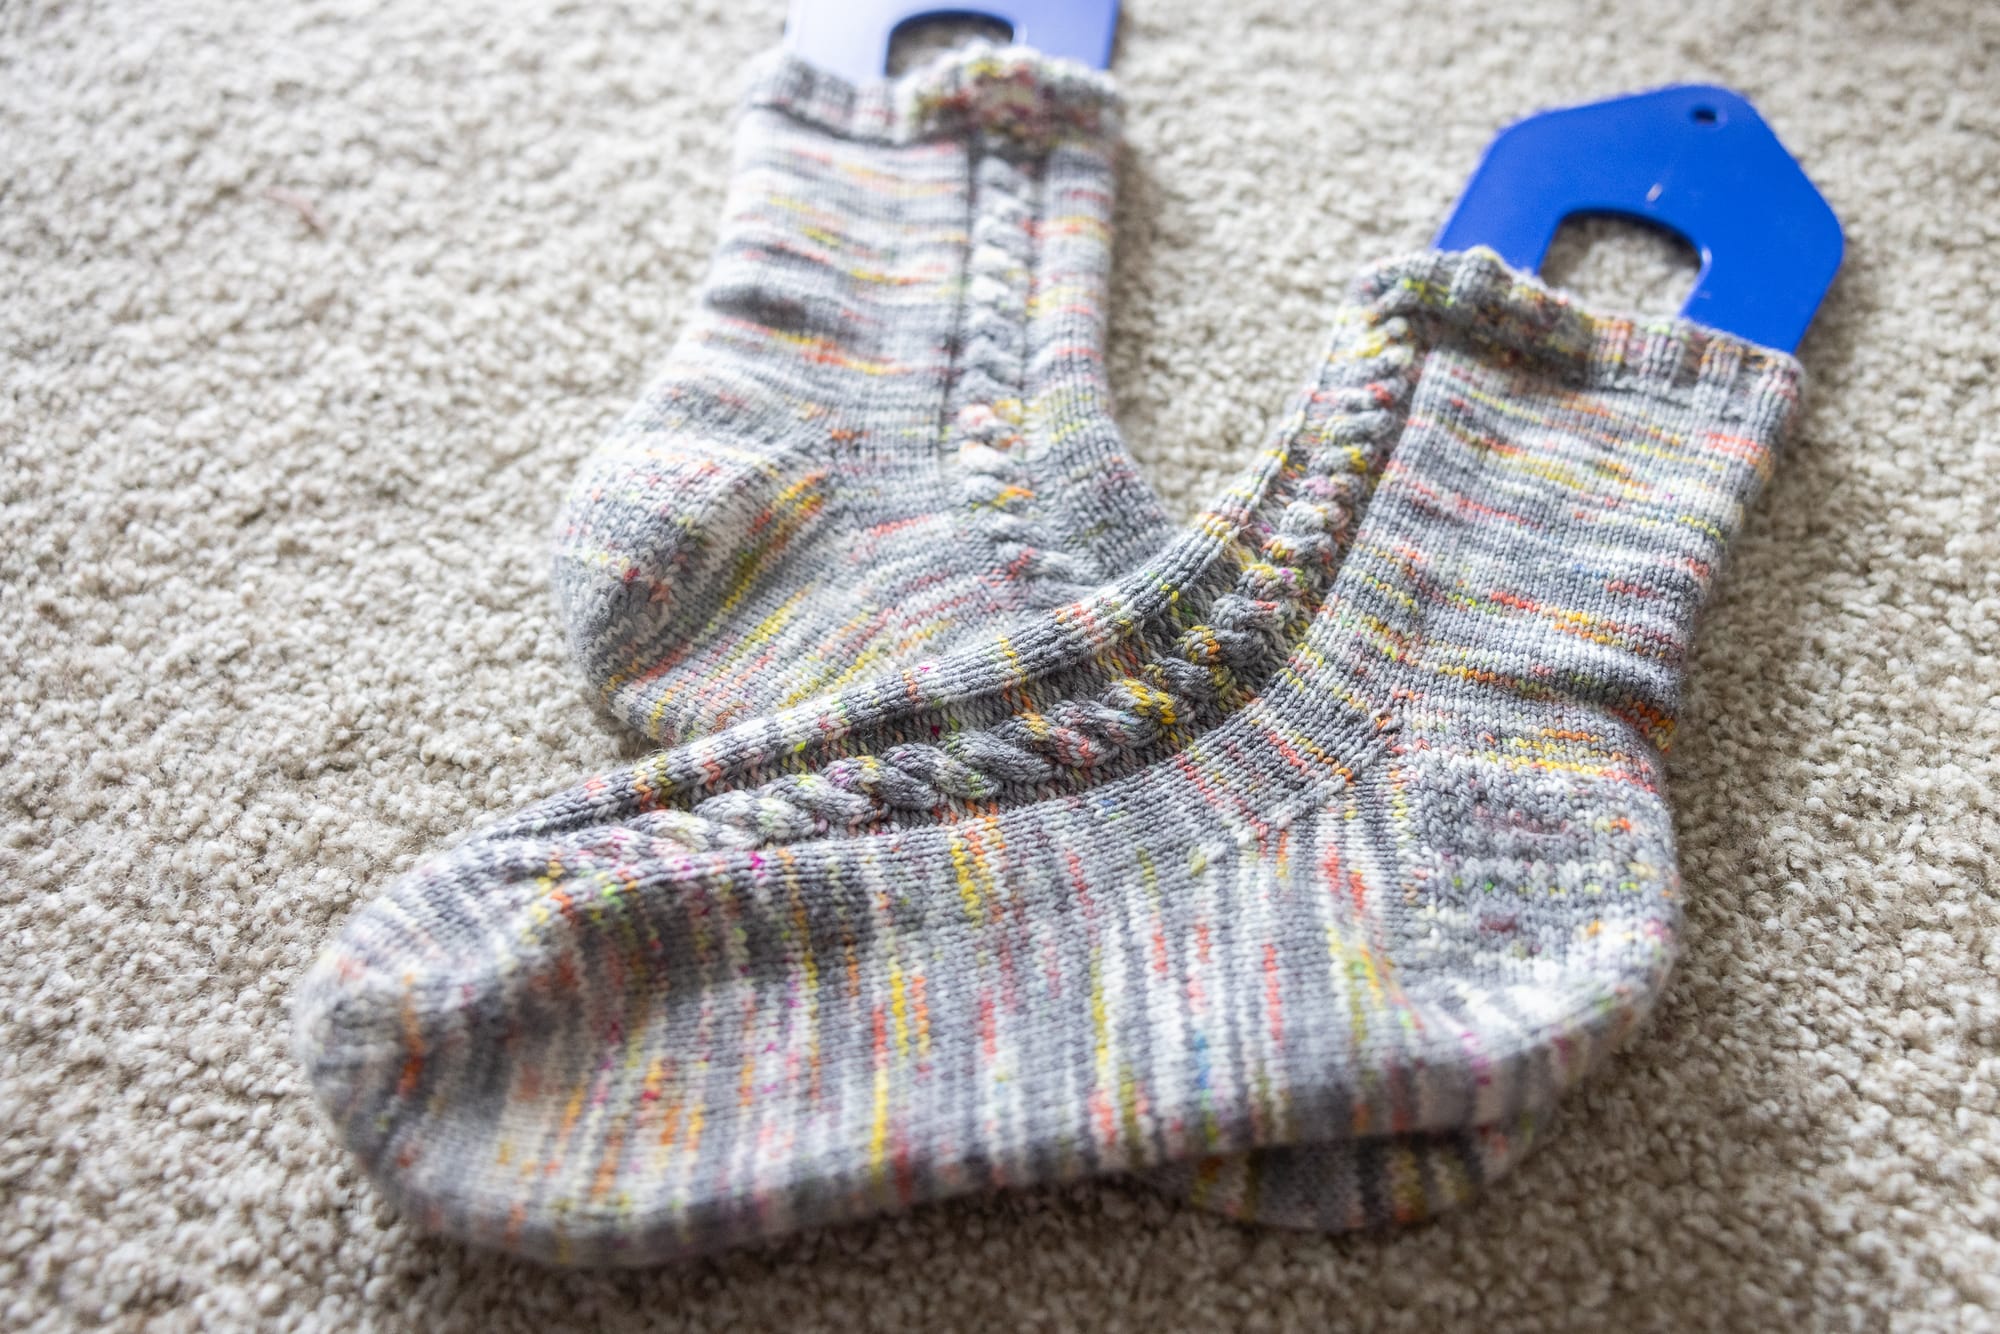
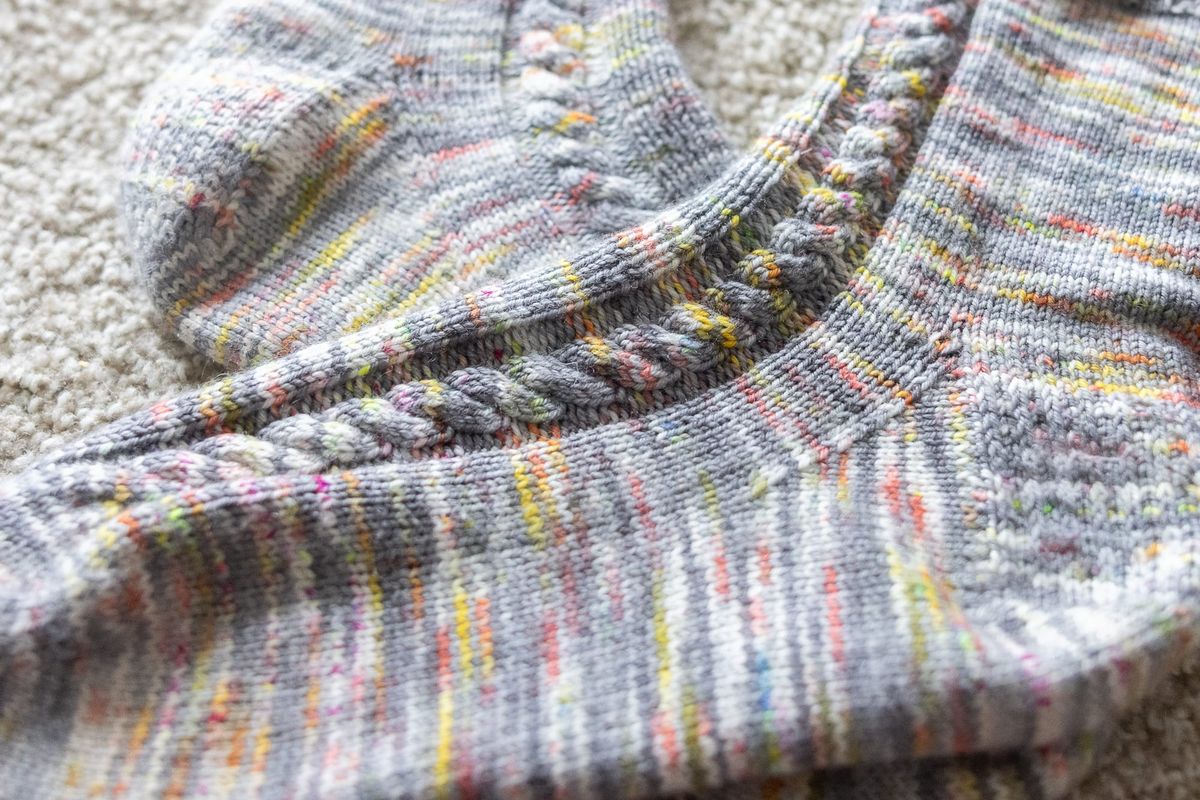
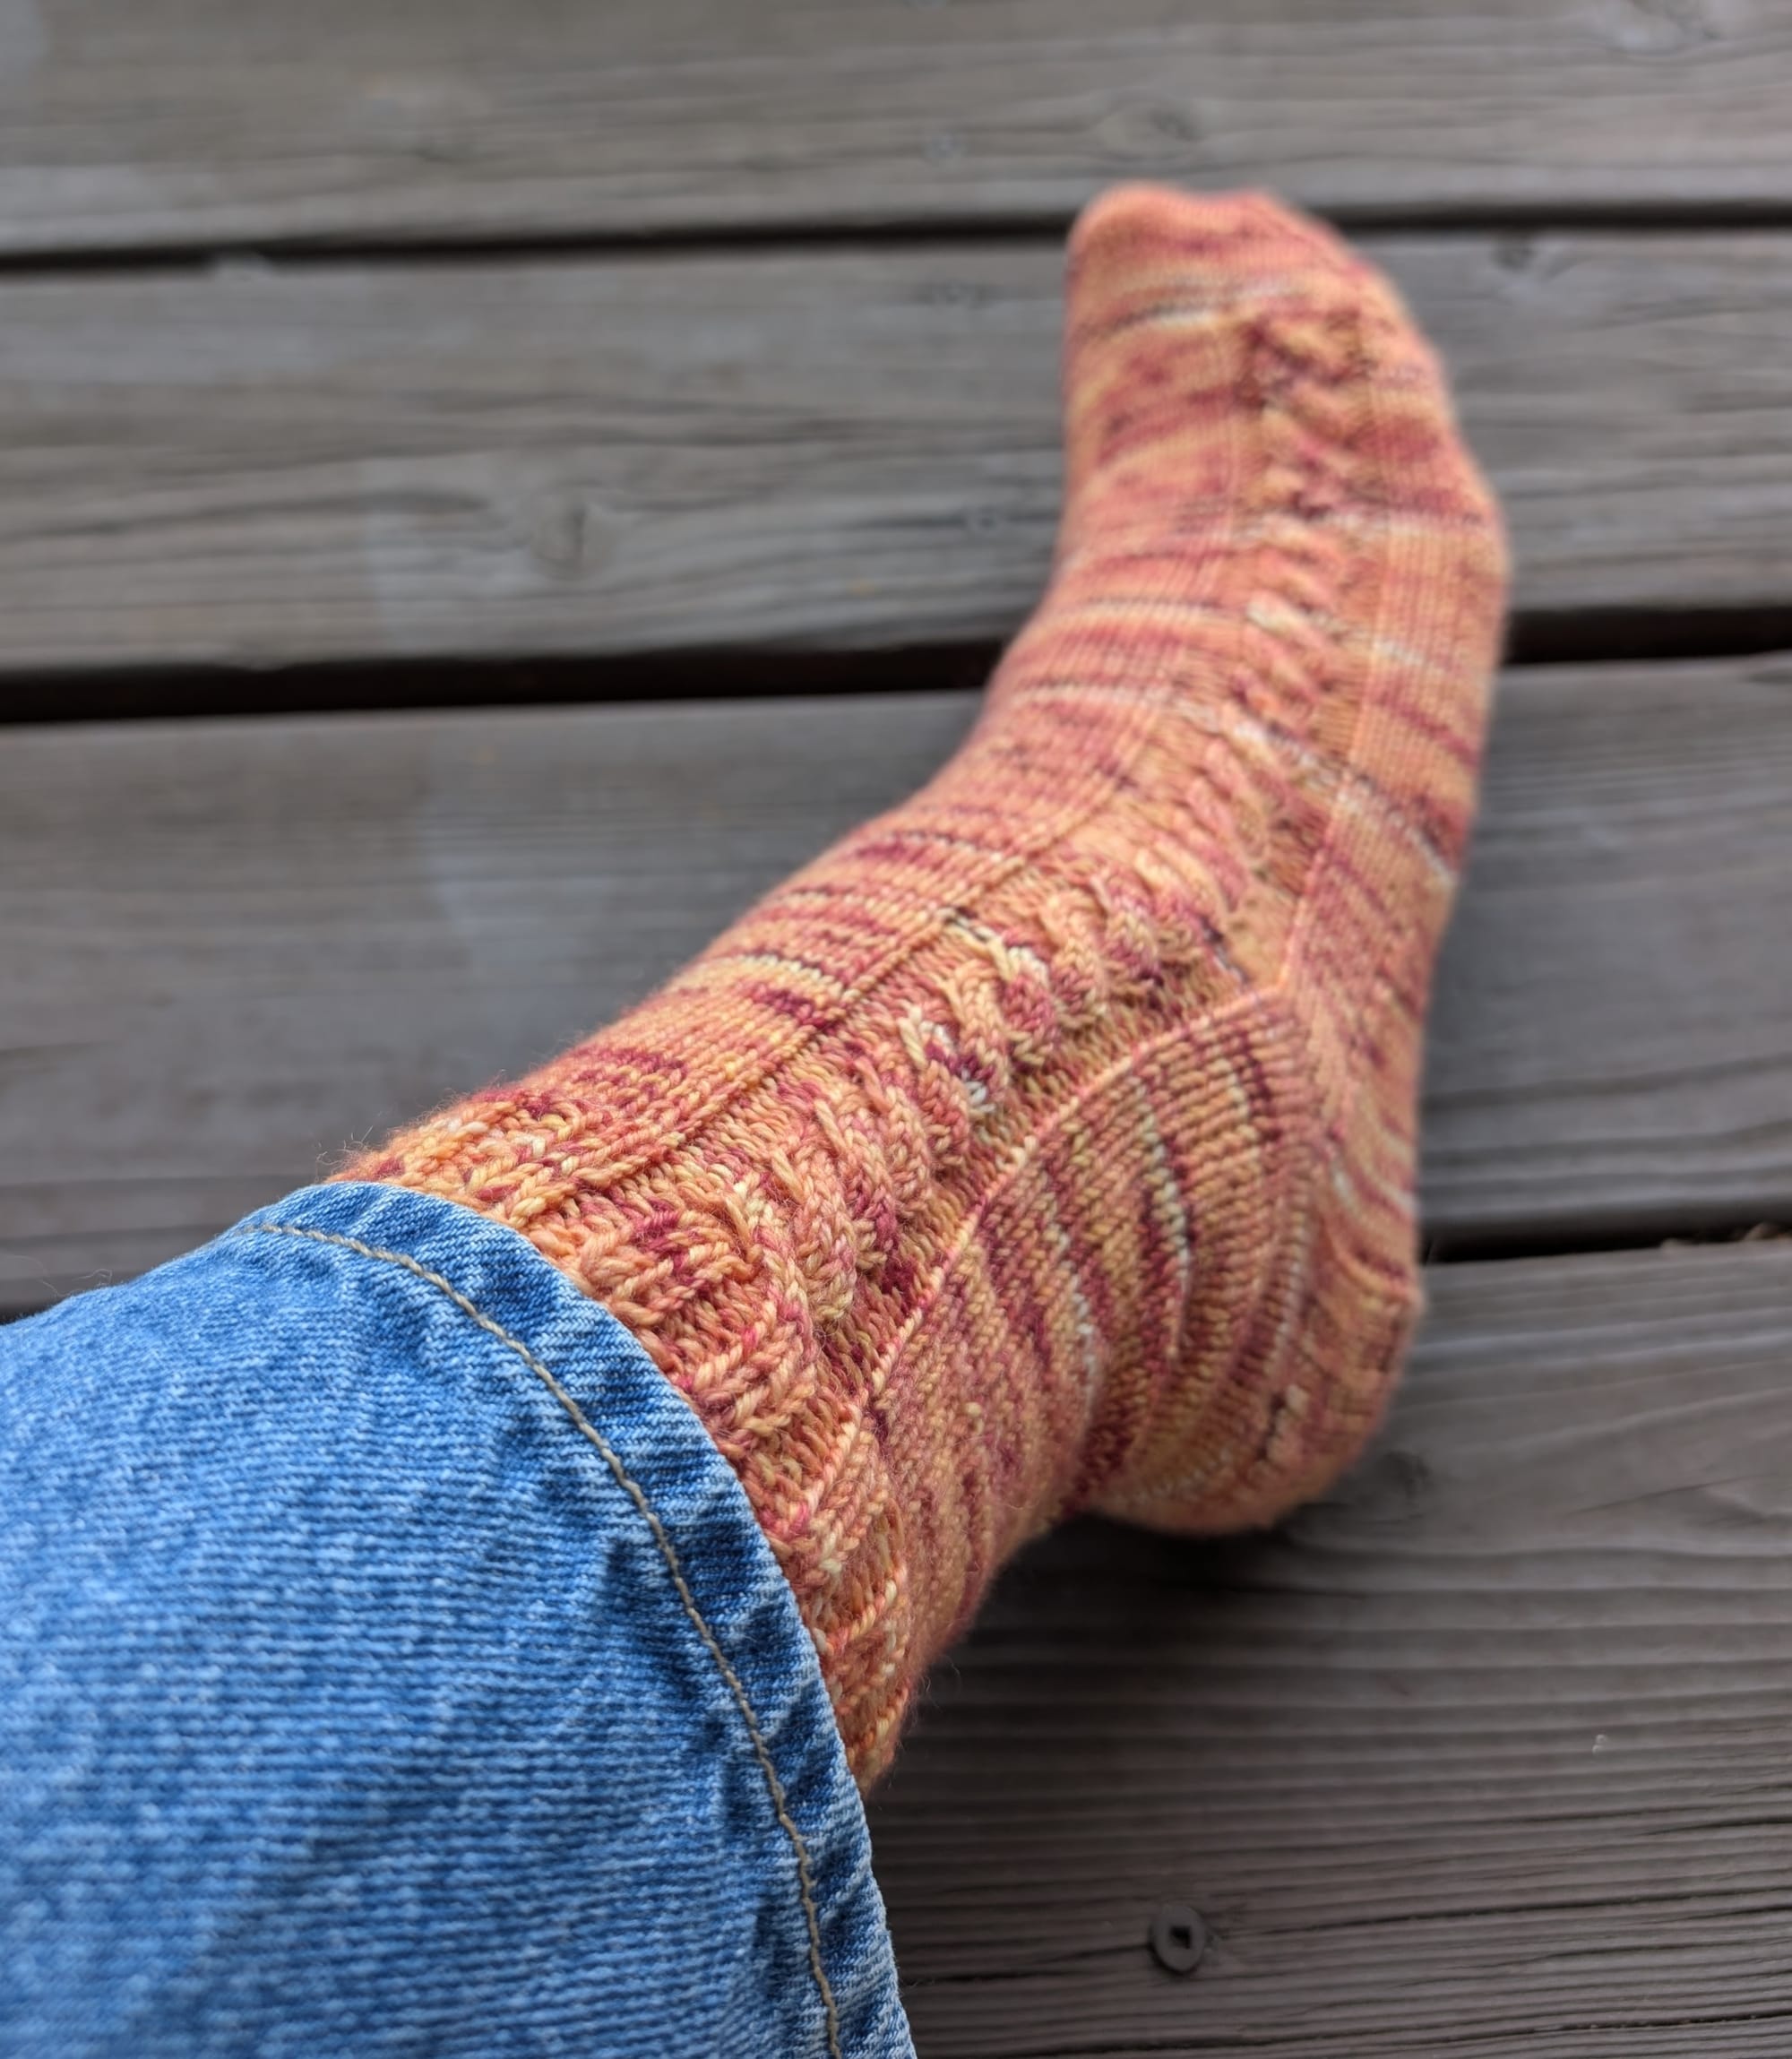
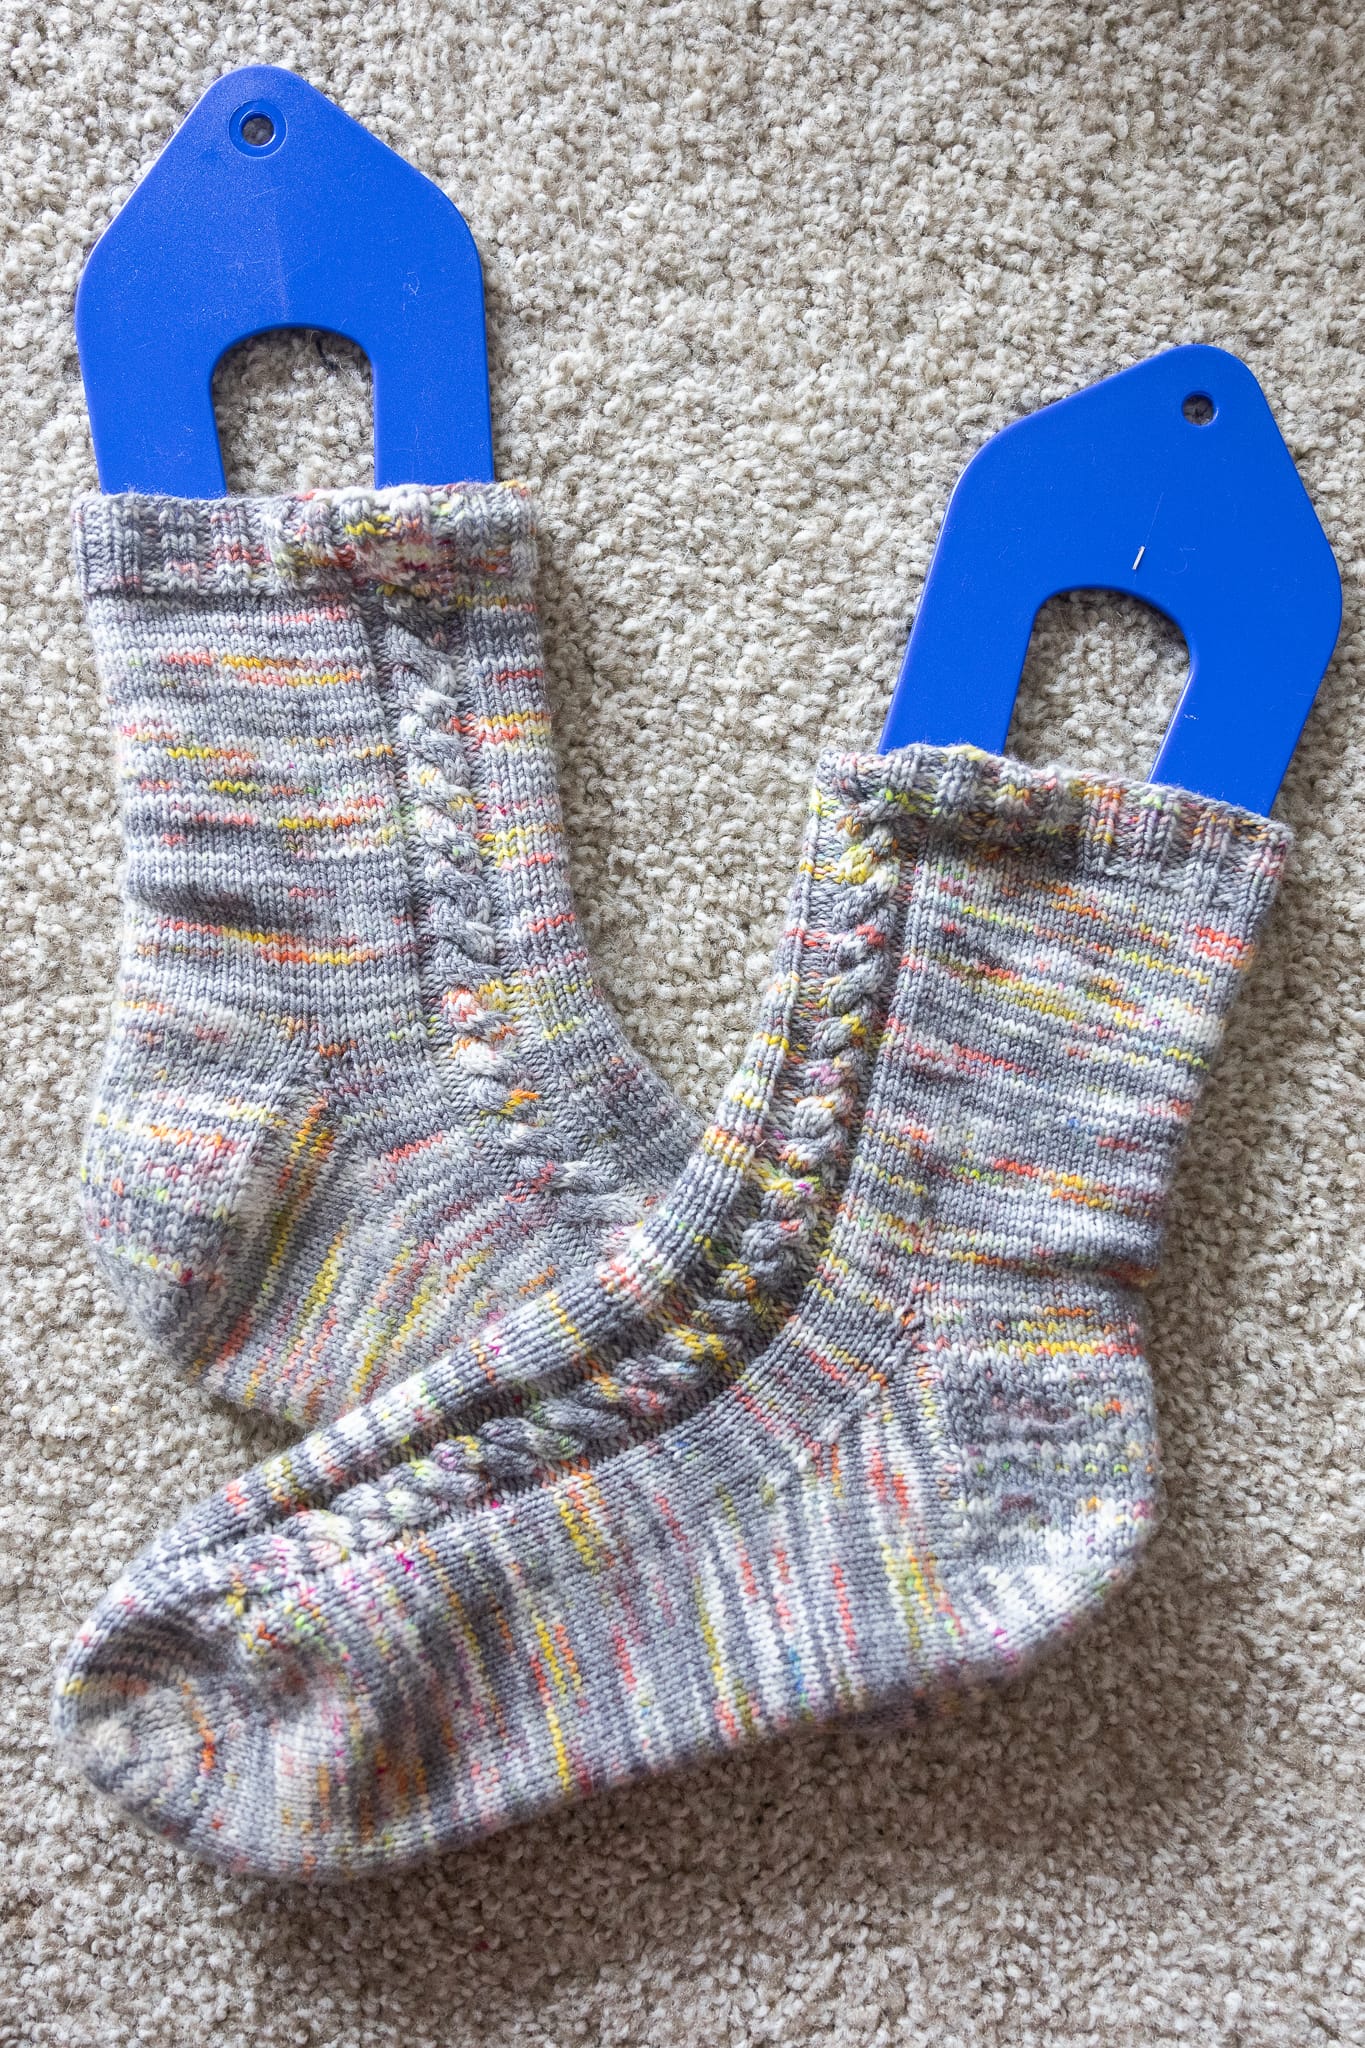
I stuck a simple cable on my free sock pattern. I lined it up so the ribbing of the cuff flows smoothly into it. I mirrored it for the second sock.
I decided to publish these as a free pattern in case you, too, want a simple pair of socks with just a tiny bit of interest and absolutely no thinking required.
This pattern works great for speckled or variegated yarn because there is no complex design for the dye job to obscure.
It is worked from the cuff down, comes in two adult sizes, and features a traditional slipped-stitch heel flap and gusset.
Yarn
400yd / 100g of fingering weight yarn.
Gauge
8.5 stitches and 12 rows per inch in Stockinette stitch.
Needles
US 1 / 2.25mm circular needles or set of DPNs (or size needed to obtain gauge).
Notions
Cable needle (optional), stitch markers, tape measure, tapestry needle.
Finished Measurements
Medium (Large): 7.5 (8.5)” foot and leg circumference.
Length and height are adjustable.
Choose a size that will fit with about 1” of negative ease.
Abbreviations
- BOR = beginning of round
- k = knit
- p = purl
- p2tog = p two together
- Rep = repeat
- Rnd(s) = round(s)
- RS = right side
- sl = slip (purlwise unless otherwise specified)
- ssk = slip, slip, knit (left-leaning decrease)
- st(s) = stitch(es)
- WS = wrong side
- wyib = with yarn in back
- wyif = with yarn in front
- C6F (Cable 6 Front): sl next 3 sts to cable needle and hold at front of work, k3 from left needle, then k3 from cable needle.
- C6B (Cable 6 Back): sl next 3 sts to cable needle and hold at back of work, k3 from left needle, then k3 from cable needle.
Numbers for sizes written as M (L).
Cable Pattern
Right sock
Rnd 1: k4 (6), p2, C6F, p2, k to end of rnd.
Rnds 2-6: k4 (6), p2, k6, p2, k to end of rnd.
Left sock
Rnd 1: k18 (20), p2, C6B, p2, k to end of rnd.
Rnds 2-6: k18 (20), p2, k6, p2, k to end of rnd.
Instructions
Cuff
Note that each size has separate instructions for the cuff ribbing for each leg. This helps the cable pattern on the leg line up attractively with the cuff ribbing for each size.
Cast on 64 (72) sts loosely or with a stretchy cast-on. Join to work in the rnd, being careful not to twist.
Medium only:
Right sock:
Rnd 1: *p2, k2; rep from * to end
Rep rnd 1 until ribbing measures one inch, or until desired length.
Left sock:
Rnd 1: *k2, p2; rep from * to end Rep rnd 1 until ribbing measures one inch, or until desired length.
Large only:
Right sock:
Rnd 1: *k2, p2; rep from * to end
Rep rnd 1 until ribbing measures one inch, or until desired length.
Left sock:
Rnd 1: *p2, k2; rep from * to end Rep rnd 1 until ribbing measures one inch, or until desired length.
Leg
Begin working Cable Pattern as described above (see Cable Pattern section directly following Abbreviations).
Rep rnds 1-6 of Cable Pattern until leg (including cuff) measures 6 inches, or desired length.
Heel
Heel Flap
Work the Cable Pattern over the next 32 (36) sts (half a rnd), then stop and prepare to work the heel flap.
The heel flap is worked flat over the next 32 (36) sts.
Row 1 (RS): *sl1 wyib, k1; rep from * to end.
Row 2 (WS): sl1 wyif, p to to end.
Rep rows 1 and 2 (15) 17 more times, or until flap is length desired, ending after a WS row.
Heel Turn
Row 1 (RS): sl1 wyib, k17 (19), ssk, k1, turn
Row 2 (WS): sl1 wyif, p5, p2tog, p1, turn
Row 3 (RS): sl1 wyib, k to one st before gap, ssk, k1, turn
Row 4 (WS): sl1 wyif, p to one st before gap, p2tog, p1, turn
Rep rows 3 and 4 until 1 st remains unworked on each side of the heel, then complete the heel turn by working rows 5 and 6 one time each.
Row 5 (RS): sl1 wyib, k to one st before gap, ssk, turn
Row 6 (WS): sl1 wyif, p to one st before gap, p2tog, turn
All gaps have been closed and all heel sts have been worked, ending with a RS row.
Return to working in the rnd
Your heel turn has just ended on a WS row. Turn to work a RS row and work as follows:
sl1 wyib, k to end of heel
Pick up and knit one st in each slipped edge st along first side of the heel flap
Place marker
Work across instep in pattern, resuming on the rnd you left off on in the Leg section.
Place marker
Pick up and knit one st in each slipped edge st along the second side of the heel flap
k all heel sts, placing a marker halfway through the heel to mark BOR, if desired
You have now returned all sts to your needles and are ready to continue working in the rnd.
Gusset
Rnd 1: k to 3 sts before marker, k2tog, k1, work across instep in Cable Pattern (to marker), k1, ssk, k to BOR
Rnd 2: k to marker, work across instep in Cable Pattern (to marker), k to BOR.
Rep rnds 1 and 2 until the st count has returned to 64 (72).
Move the BOR to the start of the instep stitches.
Be sure to stay aware of which half of the sts is your instep and which half is your sole. You will need this information for the toe.
Foot
Continue to work in Cable Pattern until foot measures 2 inches less than desired length from the back of the heel.
I recommend finishing on one of the middle rnds of the Cable Pattern (rnd 3, 4, or 5) for a nice transition to the toe.
Toe
You should be at the beginning of the instep sts, which is the BOR. Begin the toe decreases as follows:
Rnd 1, instep: k1, ssk, k to last 3 sts of instep, k2tog, k1
Rnd 1, sole: k1, ssk, k to last 3 sts of sole, k2tog, k1
Rnd 2: k all sts
Rep rnds 1 and 2 until you have 32 (36) sts remaining. Then, rep rnd 1 twice more.
At the end of your decreases, you should have 24 (28) sts remaining, 12 (14) on the instep and 12 (14) on the sole.
Cut the yarn, leaving a tail long enough to graft the toe. Use the Kitchener stitch to graft the toe closed.